TWINOAKS Mockup Editing

1

Open and Save As

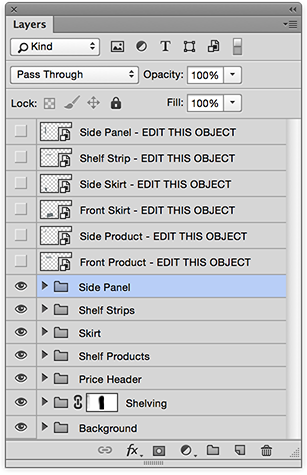
Starting with the base psd file, Save As to the working folder with file name of your choosing. Base file names begin with TO-MOCKUP ... and are found in the TWINOAKS Image Library.

TIP: As general file name practice, include "MOCKUP" in the file name to aid finding at a later date, i.e. "XXXXX-MOCKUP-End_Cap.psd"

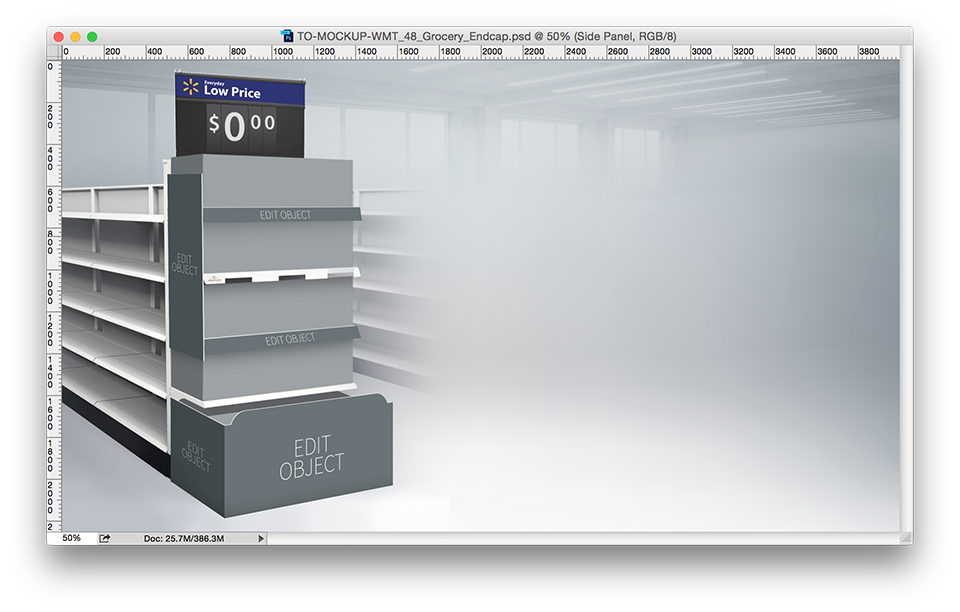
Walmart end cap base file

2

Editing with Smart Objects

Mockup templates are built in Photoshop CC, using smart objects. These smart object are built to make editing and creating new mockups easy, and can be found as an "off" layer at the top of the layer panel.

To edit a smart object:

1 Double click the layer icon in the layers panel. This will open a new window to place artwork.

2 Use File > Place Linked... to place artwork that will update automatically with changes to working files. Otherwise, copy and paste, or drag and drop new artwork onto the artboard.

3 Save and close the new window. Main mockup will update upon closing.

TIP: Do not turn the smart object layer "on" by clicking the eye/empty box. Changes will update within the layer stack.

Example mockup Layer panel

3

Tips for Creating New Mockups

When creating new mockup templates, follow a few general rules to ensure all mockups are built similarly.

Minimum size is 16x9 at 300 dpi, or 4000px by 2250px.

Use appropriate layer names and keep smart objects on top of the layer stack. House individual mockup elements in appropriately named folders.

Create a smart object for all custom objects.

Start with an existing template to ensure size and background elements are consistent across all mockups.

Background images should be black & white and 20%–50% transparent.

When working with vector assets pasted as a smart object, convert to a photoshop smart object for complete free-transform control.